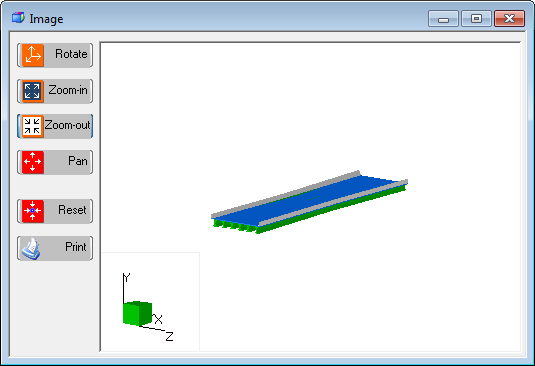
Click the Image item from the Show menu, or select its respective icon, to activate the Image screen. All spans, and any beams associated with the project at hand, will appear in the three dimensional diagram once they have been defined.
The bridge image can be generated once the geometry information is provided, without performing a design analysis. To confirm the bridge geometry, it is recommended to view the image before proceeding with the design.
Imagine Button Summaries

|
The Rotate button allows you to rotate the image. After selecting this icon, hold down the left mouse button while dragging the pointer. The image is regenerated as you move the pointer.
|

|
The Zoom-in button allows you to zoom in on a part of the image. Click the icon then click and hold while dragging the pointer over the part to be enlarged. While dragging the mouse, a selection area will be defined. The selected part of the image will appear magnified when the mouse button is released.
|

|
The Zoom-out button allows you to zoom out. As with the zoom-in feature, select an area to zoom out by holding down the left mouse button and dragging the pointer over the part to be reduced. Release of the button will complete the task, and the selected part of the image will appear reduced.
|

|
The Pan button allows you to pan the image. After clicking on this button, place the mouse pointer anywhere in the image, hold down the left mouse button, and drag the pointer in order to pan the view.
|

|
The Reset button allows you to reset the image to its original size and location.
|

|
The Print button allows you to print the image displayed on the Image screen. Note that Precast/Prestressed Girder will print in a "WYSIWYG" format, that is, if the image appears "zoomed-in" on your monitor, then it will print out as shown on the monitor, enlarged.
|